Screen spaghetti and sweet serves
Editor’s Note: Chef Dhananjay Chandriani of DOJO Bakery offers a wonderful list of recipes—including a version of the iconic spaghetti pomodoro from ‘The Bear’. Plus sweet somethings for everyone—including vegan cheesecake and salt toffee chocolate cookies. His instructions are meticulously detailed so you can never go wrong.
Written By: Chef Dhananjay Chandriani learnt his patisserie skills at Mumbai’s Sophia Polytechnic and cut his teeth at Mag St. Bread Co.—Magazine Street Kitchen’s baking outpost—and Hyatt Regency’s pastry department before pursuing his solo endeavour in the world of sourdough. You can follow his culinary journey on Instagram.
My version of ‘The Bear Family Meal’: Spaghetti pomodoro
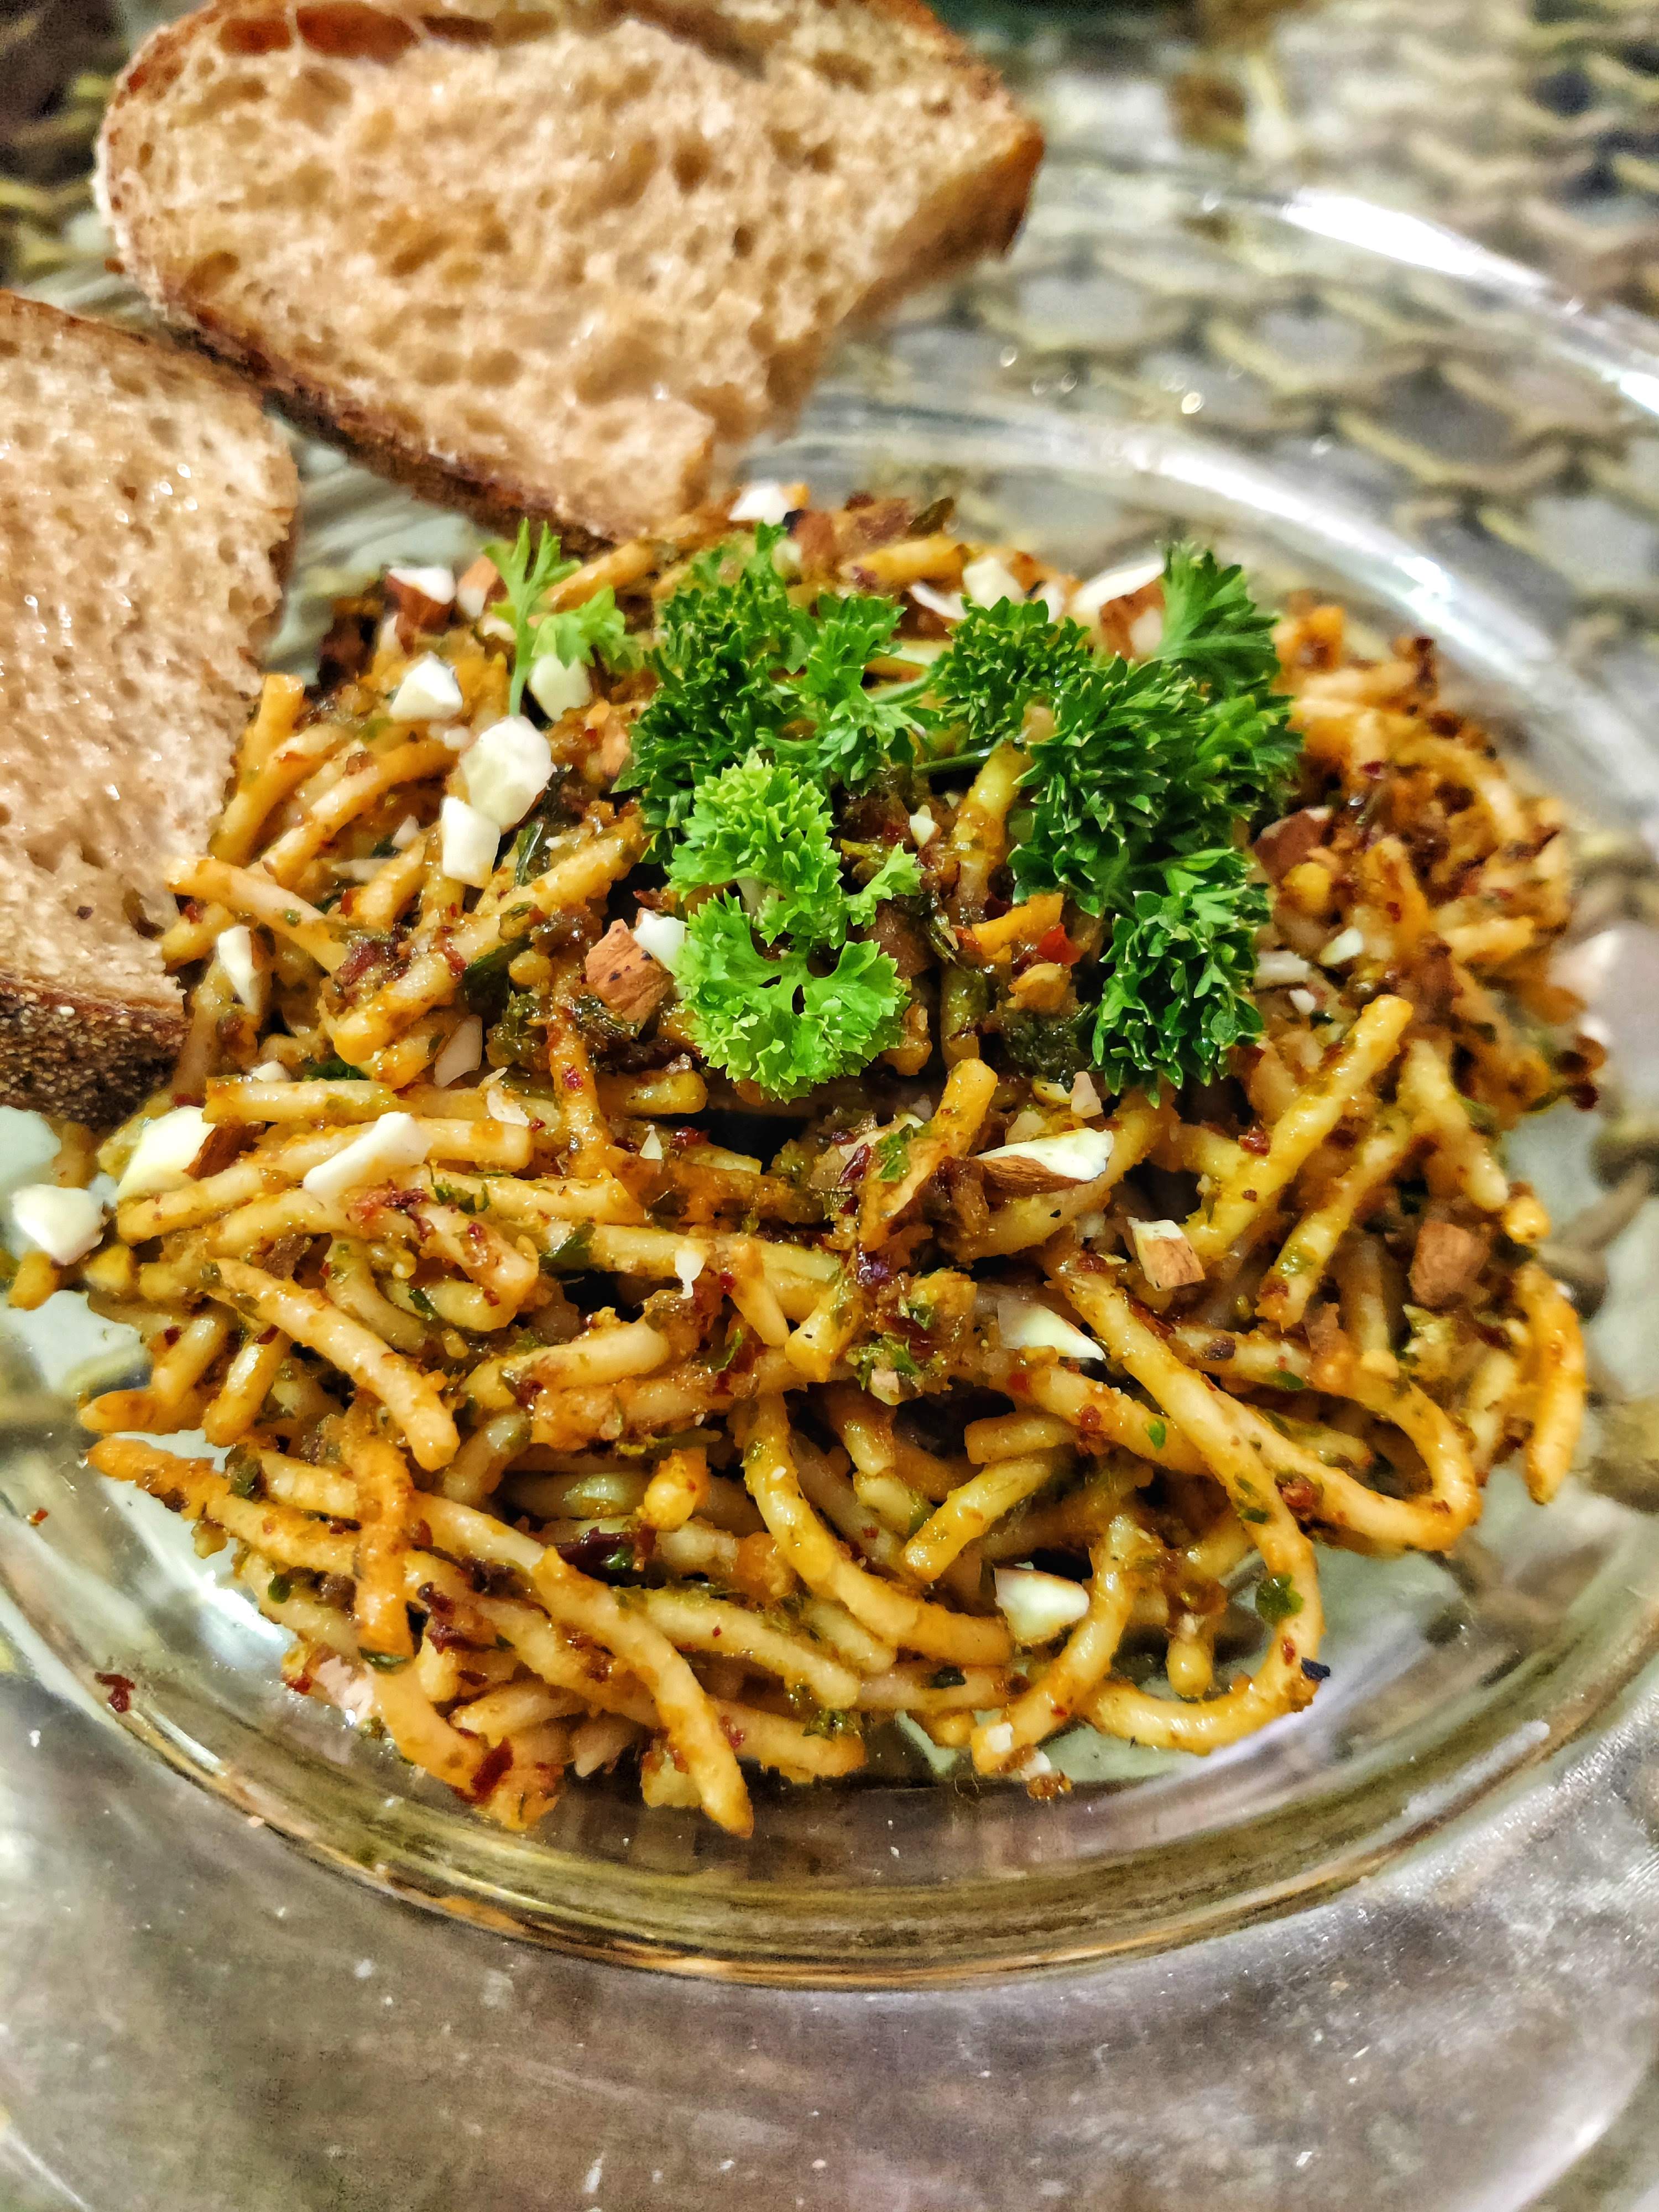 This pasta recipe was inspired by the iconic TV show—’The Bear’, probably one of my all time favourite TV shows. The pasta made as a family meal at the end of season 1 is what inspired me to adapt and make my own version. This recipe should serve 2-3 people.
Ingredients
Garlic cloves: 10 cloves
Basil: 50g / 1 large handful
Chilli flakes: 1 tbsp. or as per taste
Onion: 1 no. cut into 2 halves
Tomatoes: 4 no.
Butter: 30g / 2 tbsp.
Extra virgin olive oil (EVOO): based on recipe method.
Spaghetti: enough for 3 servings
Method
- Start with adding 7 cloves of garlic in a pot with about ½ - 1 tbsp. of olive oil. Allow it to lightly colour on medium heat.
- Add in the chilli flakes.
- Add in the washed and dried basil, roughly tearing the leaves (optional).
- Add in remaining olive oil just enough to cover the basil. Turn the heat down to low to allow it to simmer and steep.
- In another pot, add in water till about half the pot and bring to a light boil. Lightly cut the skin of your tomatoes and add into the pot to blanch.
- Once blanched, remove from the boiling water and add to an ice bath. Peel the tomatoes and let it cool.
- In a pan, add in some olive oil (1 tbsp.). Set on medium heat and add the onions, halves down on the pan. Add in the remaining 3 cloves of garlic. Reduce the heat to medium-low.
- Allow the onions to caramelise until seared brown on the halves and tops have softened.
- Crush in the tomatoes into the pan. Allow this to cook for about 5 minutes, occasionally stirring.
- Turn off the heat on the basil and the tomato mixture. Allow them both to cool.
- In the meantime, cook your spaghetti in another pot, to al-dente texture. Reserve some of the pasta water in case you need to adjust the sauce consistency.
- Add both the mixtures into a blender. Blend the mixture to a coarse sauce consistency.
- Add in salt and pepper to taste.
- Pour the sauce over your strained pasta in a pan on low heat and mix until all the spaghetti is well coated.
- Serve your pasta hot!
- Garnish with grated parmesan and fresh basil.
Tips
- Use a smaller pot with taller sides to use less olive oil for the basil. The basil needs to steep in the oil so it needs to be entirely covered.
- The ideal way of preparing this recipe would be using San Marzano tomatoes but Indian tomatoes work just fine.
- To measure your pasta, use the index finger to thumb rule – 1 serve of uncooked spaghetti will fit in between your index finger wrapped to the base of your thumb.
- You can get creative with your garnish by adding some shaved toasted almonds.
Lemon Tart: Lemon curd + Shortcrust pastry
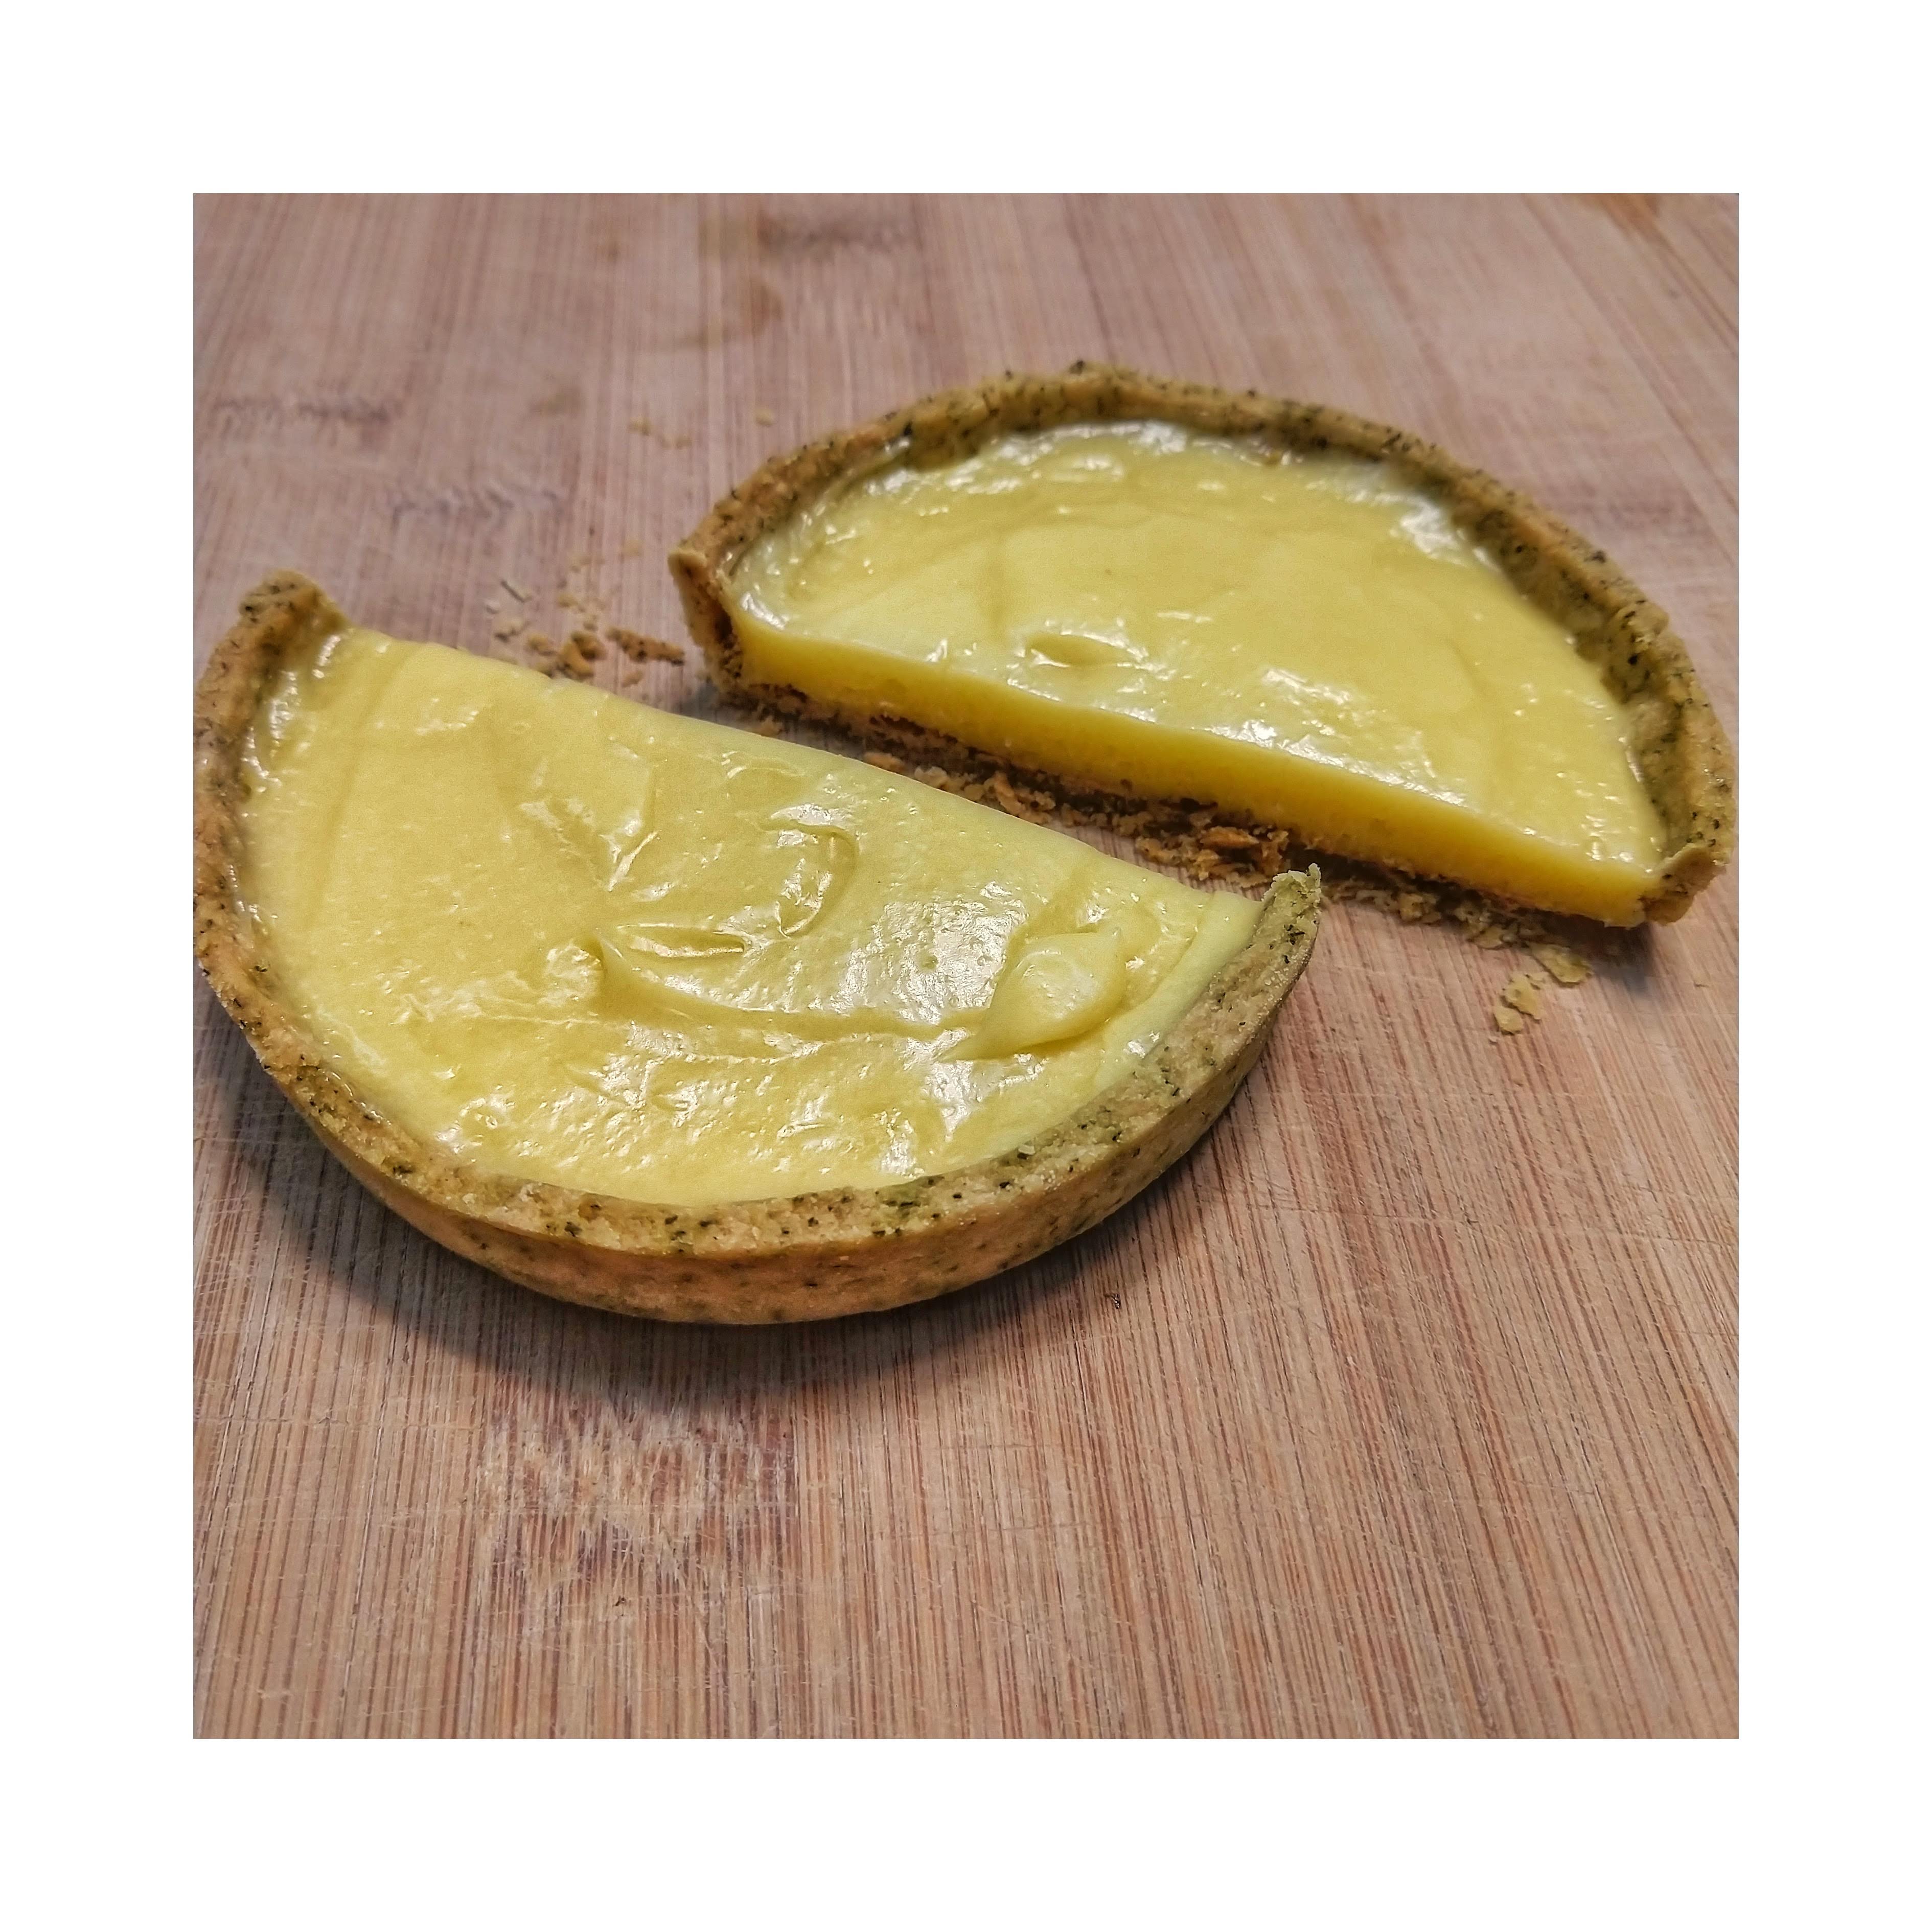
For the lemon curd…
Ingredients
Lemon zest: 4 no.
Lemon juice: 4 no.
Castor sugar: 225g / 1 cup
Eggs: 2 no.
Butter (cubed, cold): 90g / 5 tbsp.
Method
- Set up a Bain-Marie (double boiler): take a pot and fill it with some water (about ¼ to ½). This will be kept on the fire directly, while the bowl to mix the lemon curd will rest on top of it to cook using the steam.
- Zest and juice 4 medium-large lemons into a bowl.
- Add in the sugar with the juice and stir lightly with a whisk to dissolve. Let it sit on the Bain-Marie for 5-7 minutes to dissolve the sugar better.
- In the meantime, prep your other ingredients: crack your eggs into a bowl and cube your butter. Let the butter rest in the fridge.
- Once the sugar mixture has mostly dissolved and is more than warm, start pouring in the eggs while whisking it in slowly and continuously.
- Continue lightly whisking the mixture on the double boiler (set at low to medium heat once there is a continuous flow of steam) for 10-15 minutes or until the mixture coats the back of a spoon.
- Bring the mixture off the heat and immediately strain it through a sieve into another bowl.
- Add in the cold cubed butter a little at a time into the hot mixture while stirring continuously. Allow the added butter to melt in completely before adding more.
- Your lemon curd is now ready!
- Store in an airtight container in the fridge for up to two weeks or in the freezer for up to a month.
For a quick shortcrust pastry
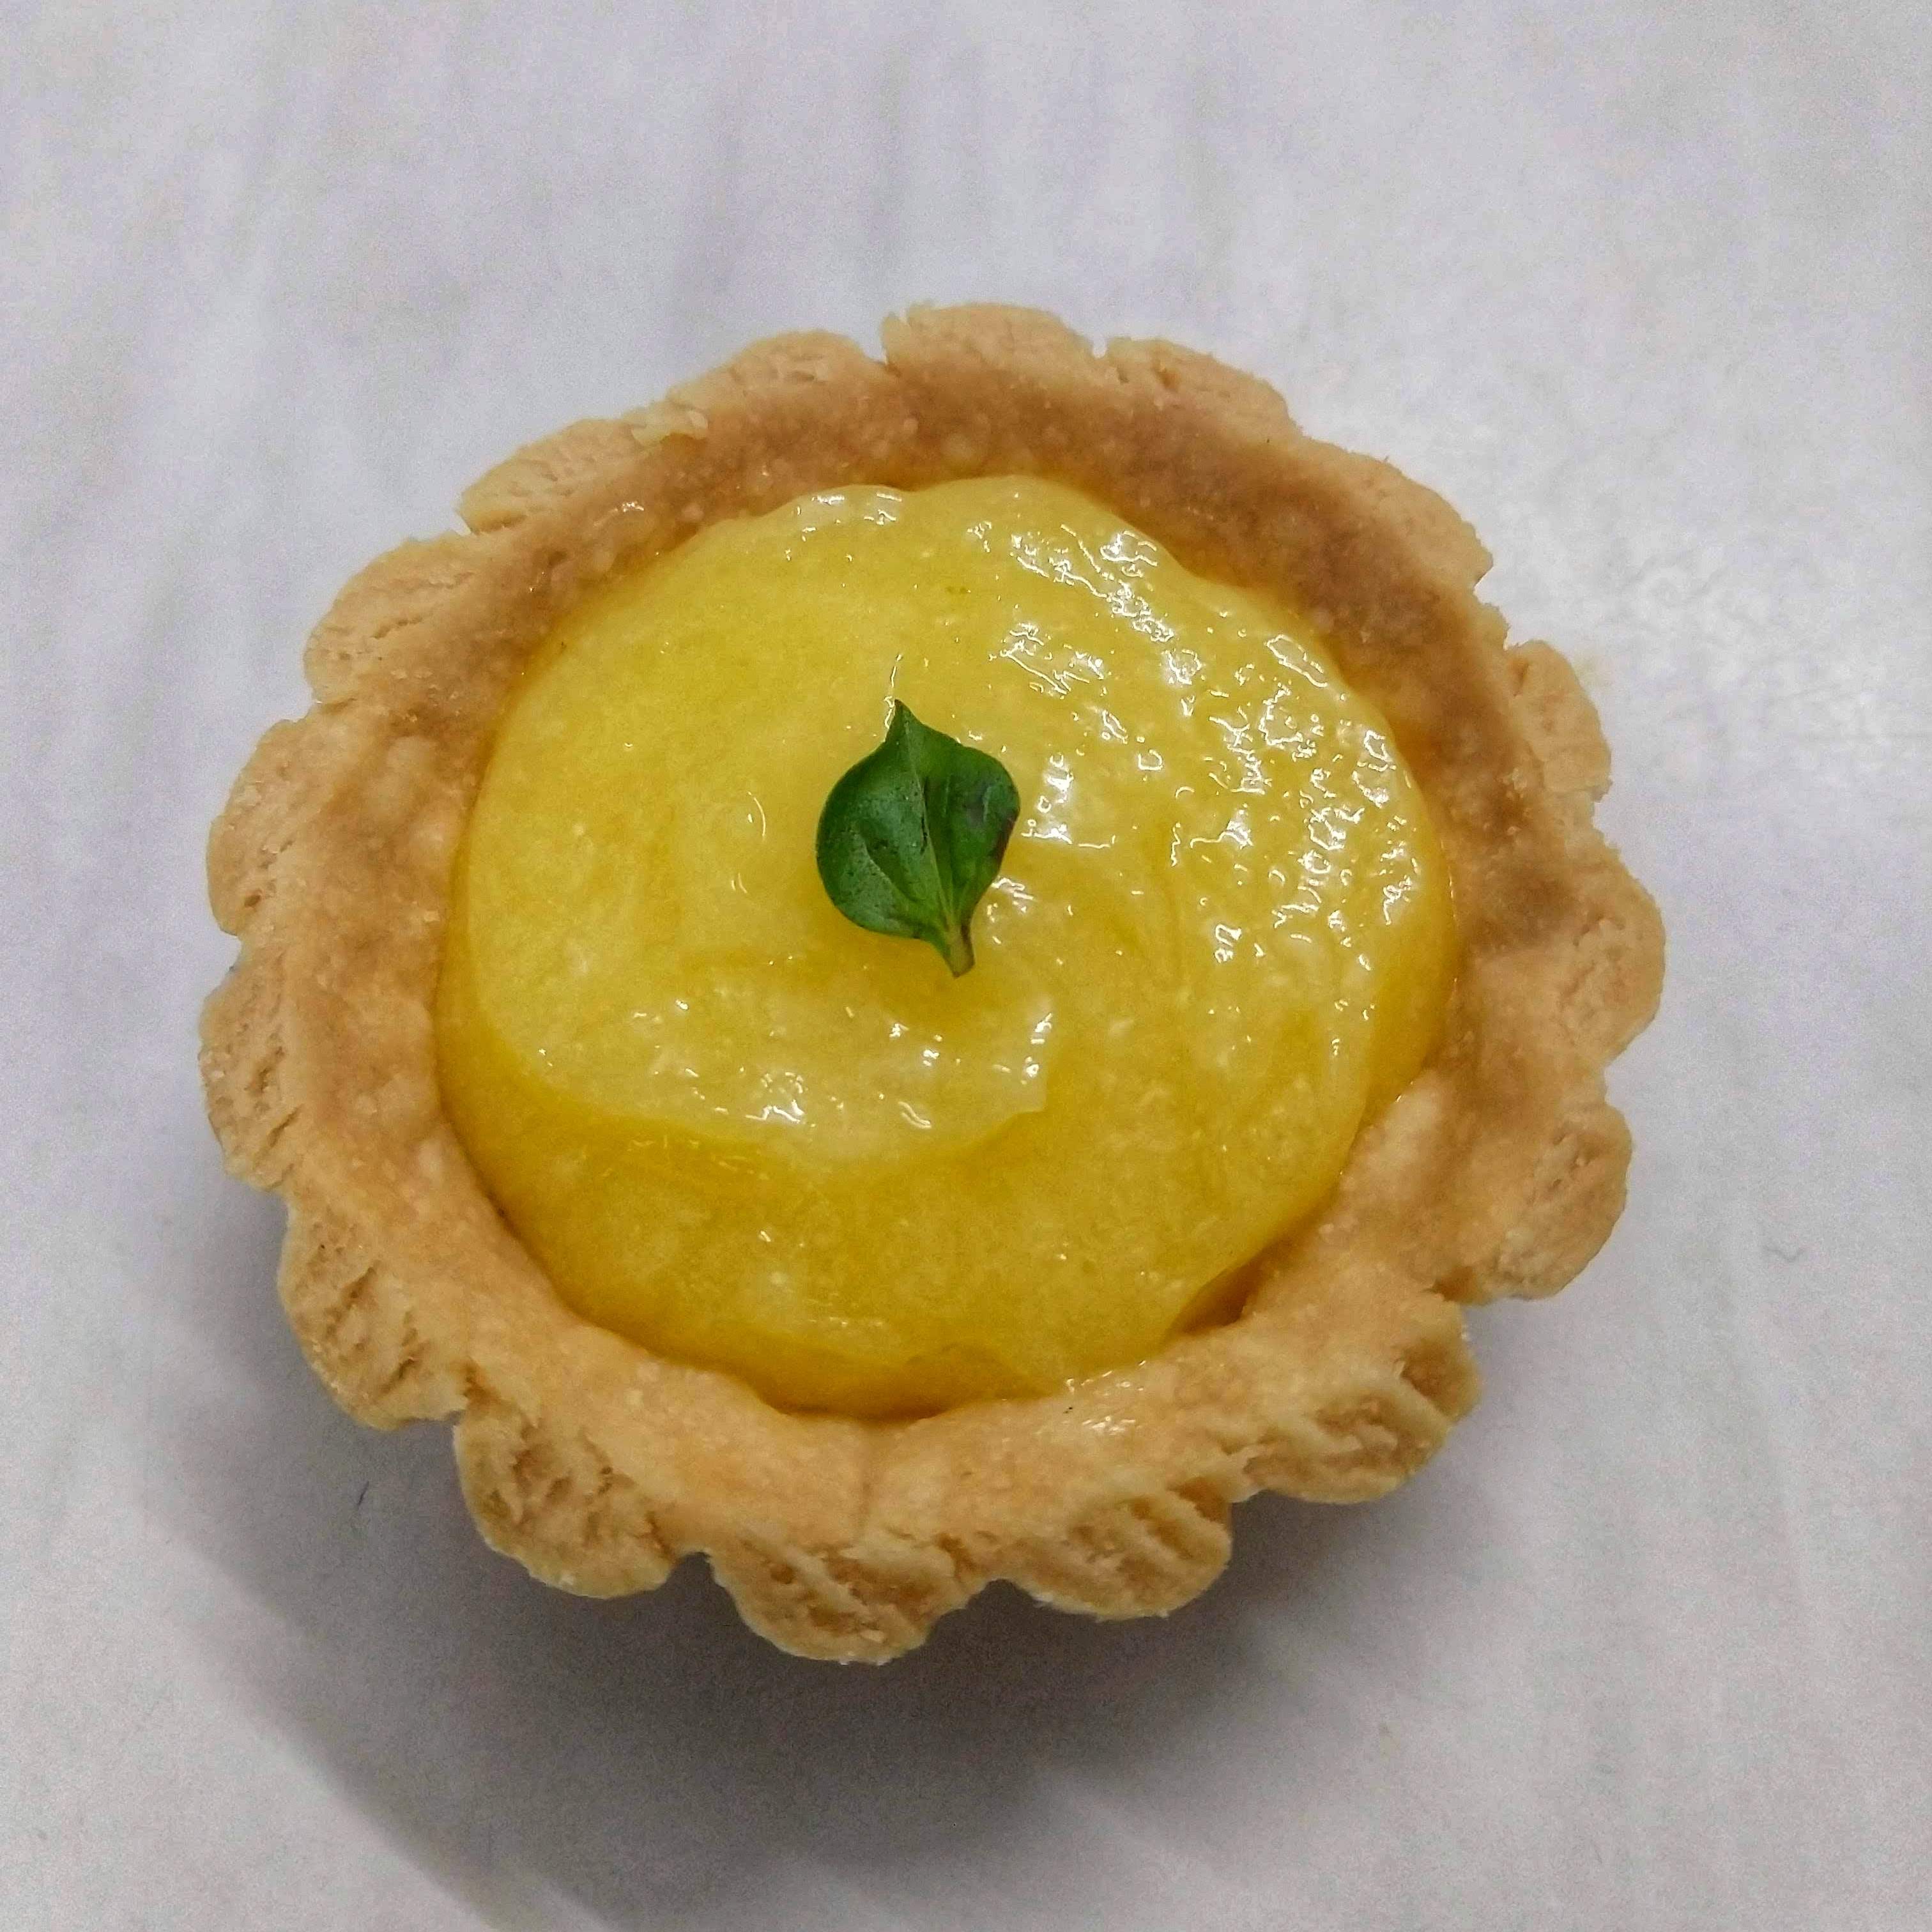
Ingredients
Flour (maida): 120g / 1 cup
Butter (small cubed, cold): 60g / ½ cup
Icing sugar: 10g / ½ tbsp.
Water (cold)~15g / 1 tbsp.
Method
- Making shortcrust pastry is extremely straightforward, easy, and quite enjoyable if you like working with your hands. Let us start by sieving your flour and icing sugar together. Stir lightly with a whisk to make a uniform mixture.
- Add in your cold cubes of butter.
- Start by rubbing in the butter into the flour using your fingertips only until all the butter has been rubbed in, coating the flour. The resulting mixture should have a texture similar to wet sand and should clump together when pressed in your hand.
- Add in the water, slowly, only enough to bind the mixture together into a dough. Let it rest in the fridge for at least 30 minutes.
- Pre-heat the oven to 175 °C.
- Take out your short crust to come to a pliable consistency before rolling.
- Take two sheets of parchment paper and dust the base paper lightly with flour.
- Roll your short crust in between the two sheets, dusting with flour as and when needed.
- Take the rolled sheet of shortcrust onto your rolling pin and spread it over your tart mould. Press in the short crust into the mould and cut the extra parts rising above the mould with a knife.
- Dock your pastry crust with a fork (poke a few holes evenly across the base of the pastry.
- Rest again in the fridge for 20-30 minutes or in the freezer for 10 minutes.
- Bake at 175 °C for 20 minutes or until golden brown.
- Let it cool.
Assembly
- Once your tart shell has cooled completely, you can add in your lemon curd into the tart shell and spread evenly across.
- Feel free to add garnishes as per your choosing such as lemon rind, meringue, whipped cream, fresh basil, or the classic candied cherry.
Tips
- Always crack your eggs separately and then add it into any recipe to avoid accidental shell pieces.
- Coating the back of spoon means that when you coat a mixture on the back of a spoon and run your finger through it, it will be viscous enough not to run.
- Straining the mixture helps in two ways—firstly, the zest (has already imparted its flavour) and any cooked egg particles will be strained out and secondly, it prevents further cooking of the mixture/ eggs while sitting in the hot bowl.
- Adding cold butter to the hot mixture does two things—it helps cool down the mixture quicker and it adds extra lustre/ shine in the final lemon curd.
- Using your entire hands instead of rubbing the butter in with just your fingertips adds in extra heat through your palms causing the butter to melt quicker and not properly coat the flour. This results in a not-so-flakey shortcrust.
- Flatten your short crust dough before resting in the fridge so that it cools evenly and is easier to roll out.
Sourdough Donuts
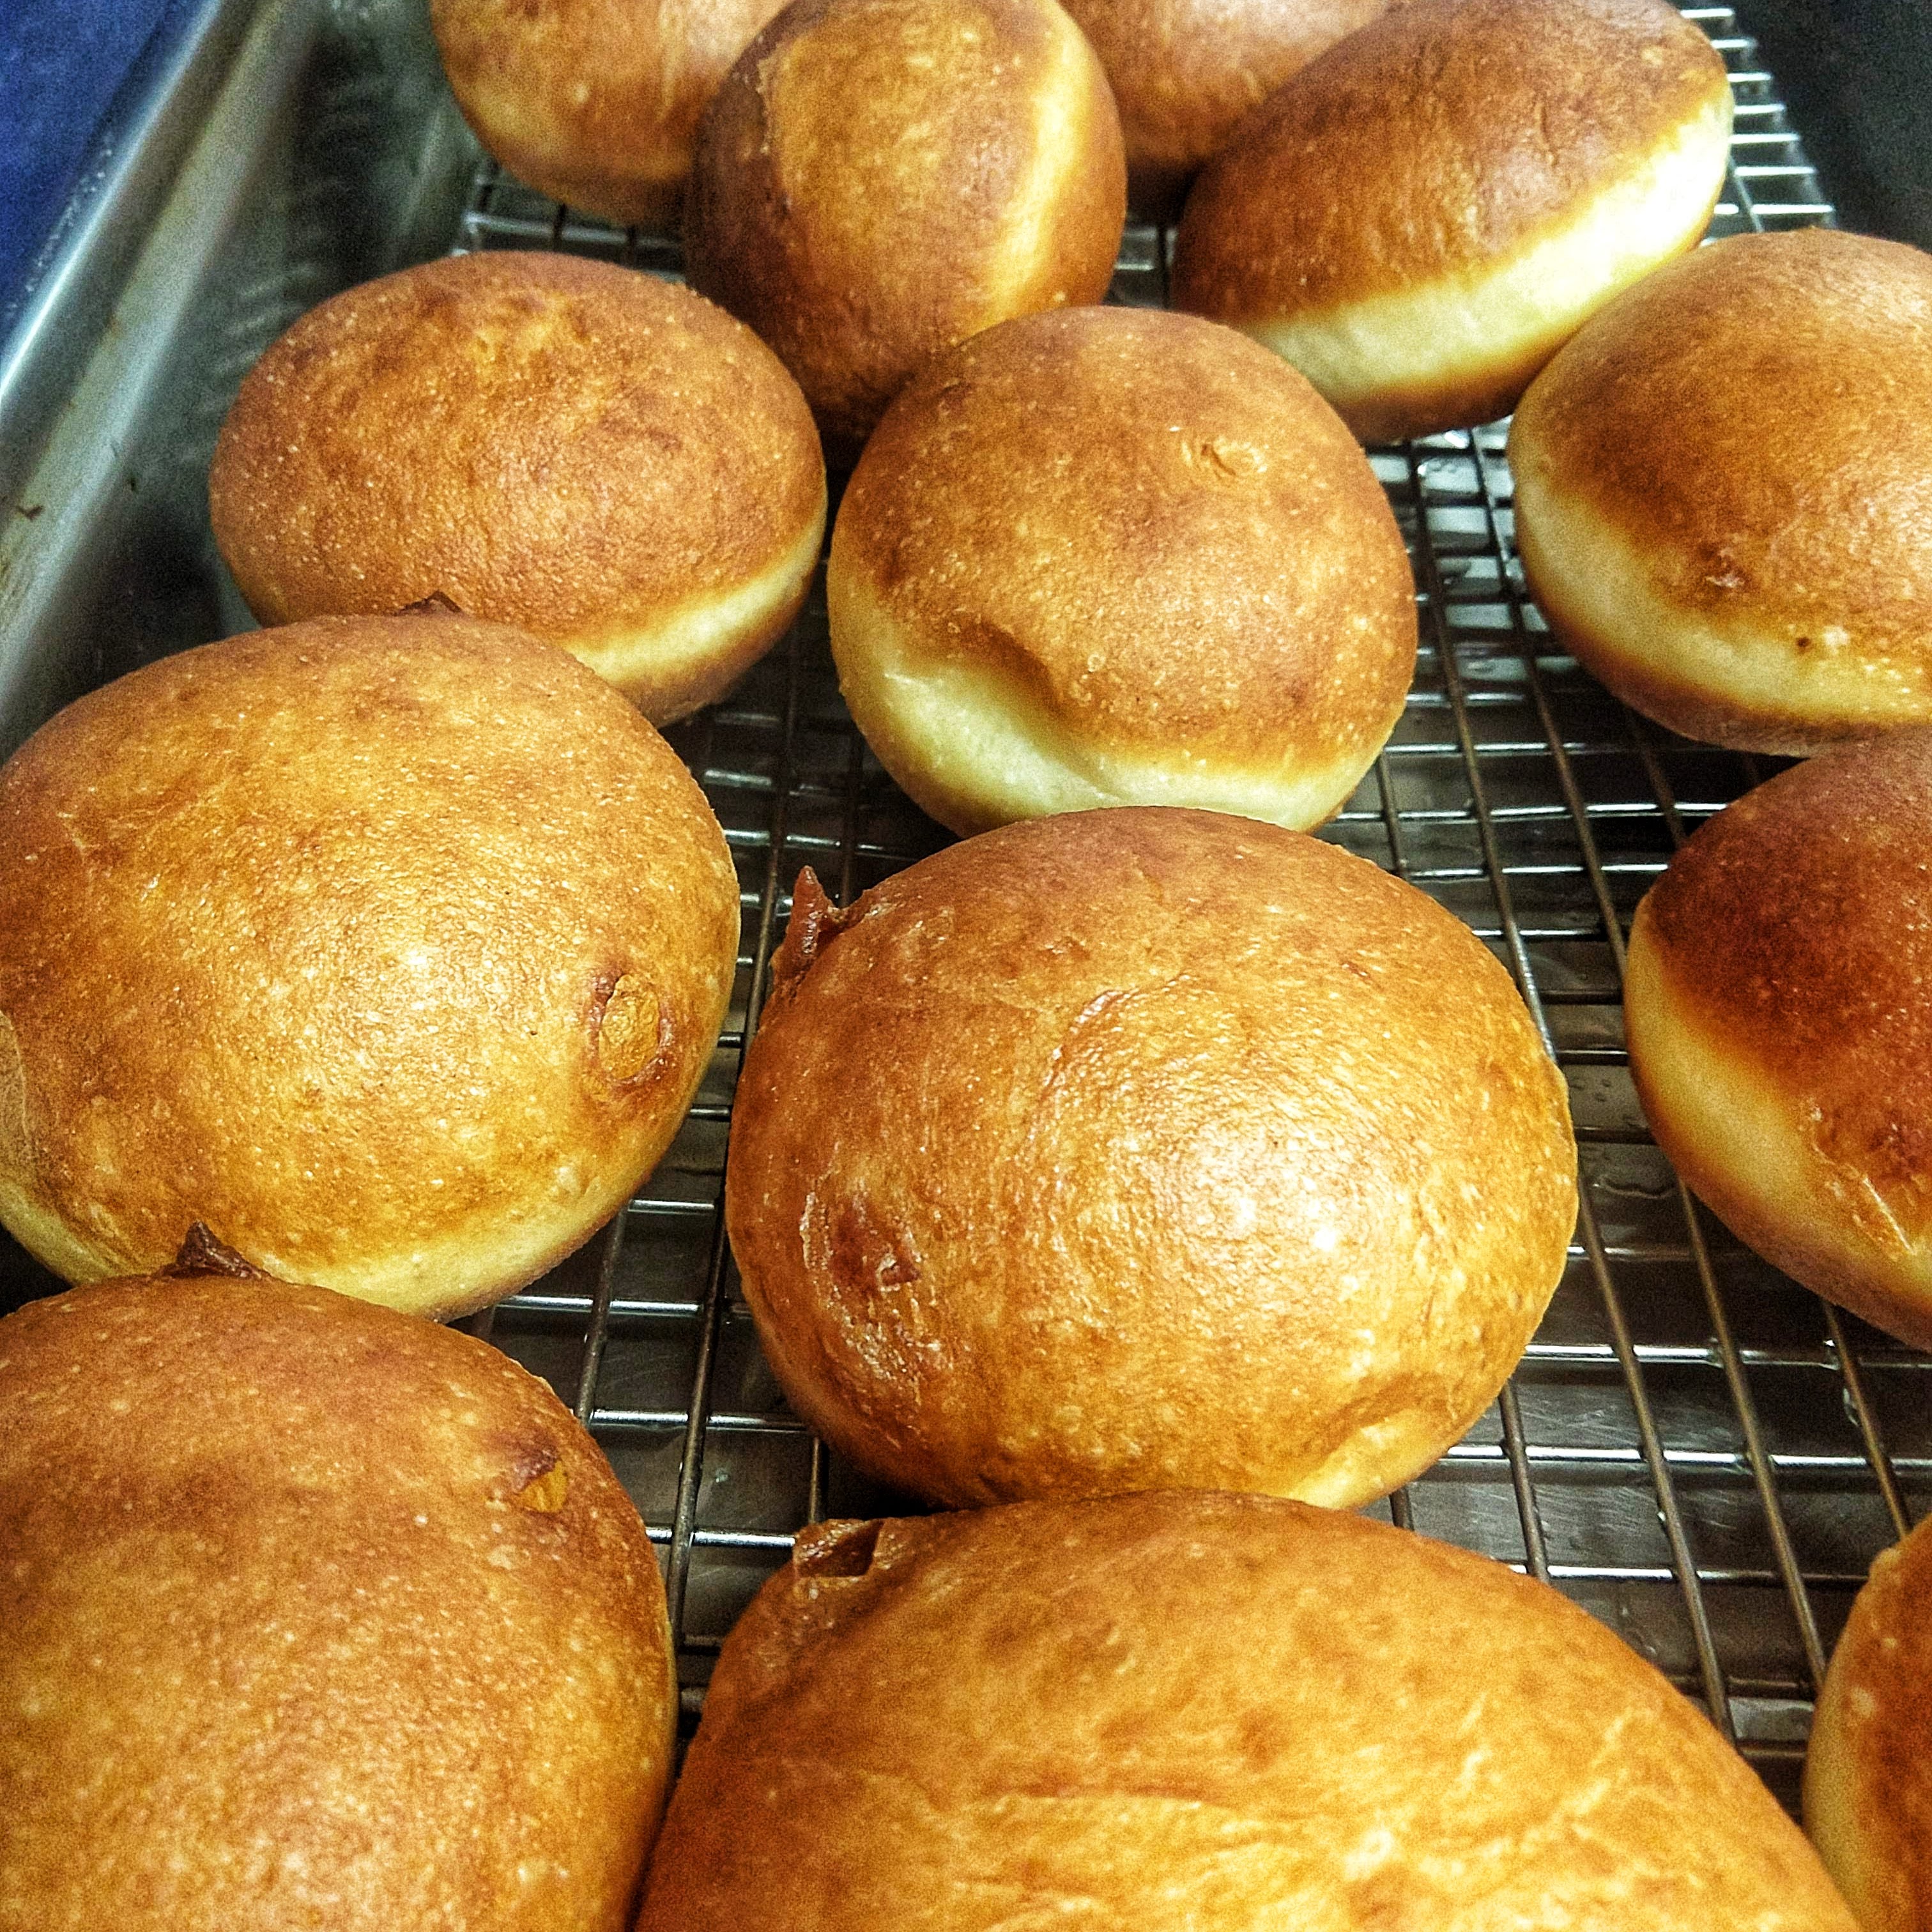 Ingredients:
Flour 250g / 2 cups
Castor sugar 70g / 1/3 cup
Fresh/ dry yeast 2g/ 1g
Lemon zest 1 no.
Eggs 2 no.
Water 50g / 3 tbsp.
Butter (room temperature) 70g / ¼ cup + 1 tbsp.
Sourdough starter (active) 50g (You can reach out to DOJO Bakery to get your hands on some)
Method
- Have an active sourdough starter ready to use when it has reached peak fermentation.
- Bring all your ingredients to room temperature (butter, eggs).
- Mix all your ingredients in a bowl and let it sit for 30 minutes – Autolyse the dough.
- Knead the dough using your hands or a dough mixer hook in a stand mixer until the dough is elastic and glossy. It will feel pillowy and will no longer stick to the bowl or your hands much.
- Once sufficiently kneaded, allow the dough to rest for 1 hour in a lightly oiled bowl covered with a lid or cling film.
- Perform a stretch and fold on the dough – using your index and middle fingers of both hands on either side of the dough, lift the dough and let the front fold underneath. Turn to fold the opposite end underneath as well. Perform the same on the other two sides of the dough.
- Let the dough rise in the fridge overnight in the bowl covered with a lid or cling film.
- Bring your dough out the next morning, onto a clean work surface. Divide into 4 pieces (approximately 63g each).
- Take a piece of the divided dough and start folding one side from the edge into the centre (outside to inside), and continue to do this for the remaining 3 sides. Flip the dough upside down, cup your palm over the dough ball and using pressure from the bottom of your palm and finger tips, start circulating your palm around the dough to round up the dough into a ball. Repeat for remaining 3 dough pieces.
- Let the dough balls rest and rise on a lightly oiled and dusted (with flour) baking tray for 2-4 hours. Cover with cling film while resting until nearly tripled in volume or feel puffy and airy to touch.
- Heat a pot with a neutral oil like sunflower oil and bring to a hot temperature. Make sure the oil is hot enough for the donuts to float easily while frying.
- Drop your donuts into the hot oil carefully. Flip around once the colour of the frying is dark golden brown. Repeat on the second side.
- Take them out once done and let them cool on a wire rack.
- Fill the donuts with custard, ganache, jam, etc. Dust with icing sugar and serve!

Tips
- Autolysing the dough means allowing the flour to be sufficiently hydrated by the liquid (water) and kick-start the gluten development.
- Using a spiral mixer (dough hook) would be ideal for kneading this dough. Using your hands to knead may take between 20 – 30 minutes, but is a very therapeutic process!
- To test if the dough is kneaded enough to develop the gluten optimally, take a small ball of dough and stretch it out lightly from the edges. If it doesn’t tear and forms a thin, almost see-through film of dough, the gluten has been adequately developed and the dough doesn’t need more kneading.
- You can choose the fillings and toppings of your choice for the donuts such as pastry cream, chocolate ganache, jams and top it with melted chocolate, crushed cookies, caster/ icing sugar, etc.
- You may also poke a hole in the donut after shaping, using a small ring, in case you want to make different shapes.
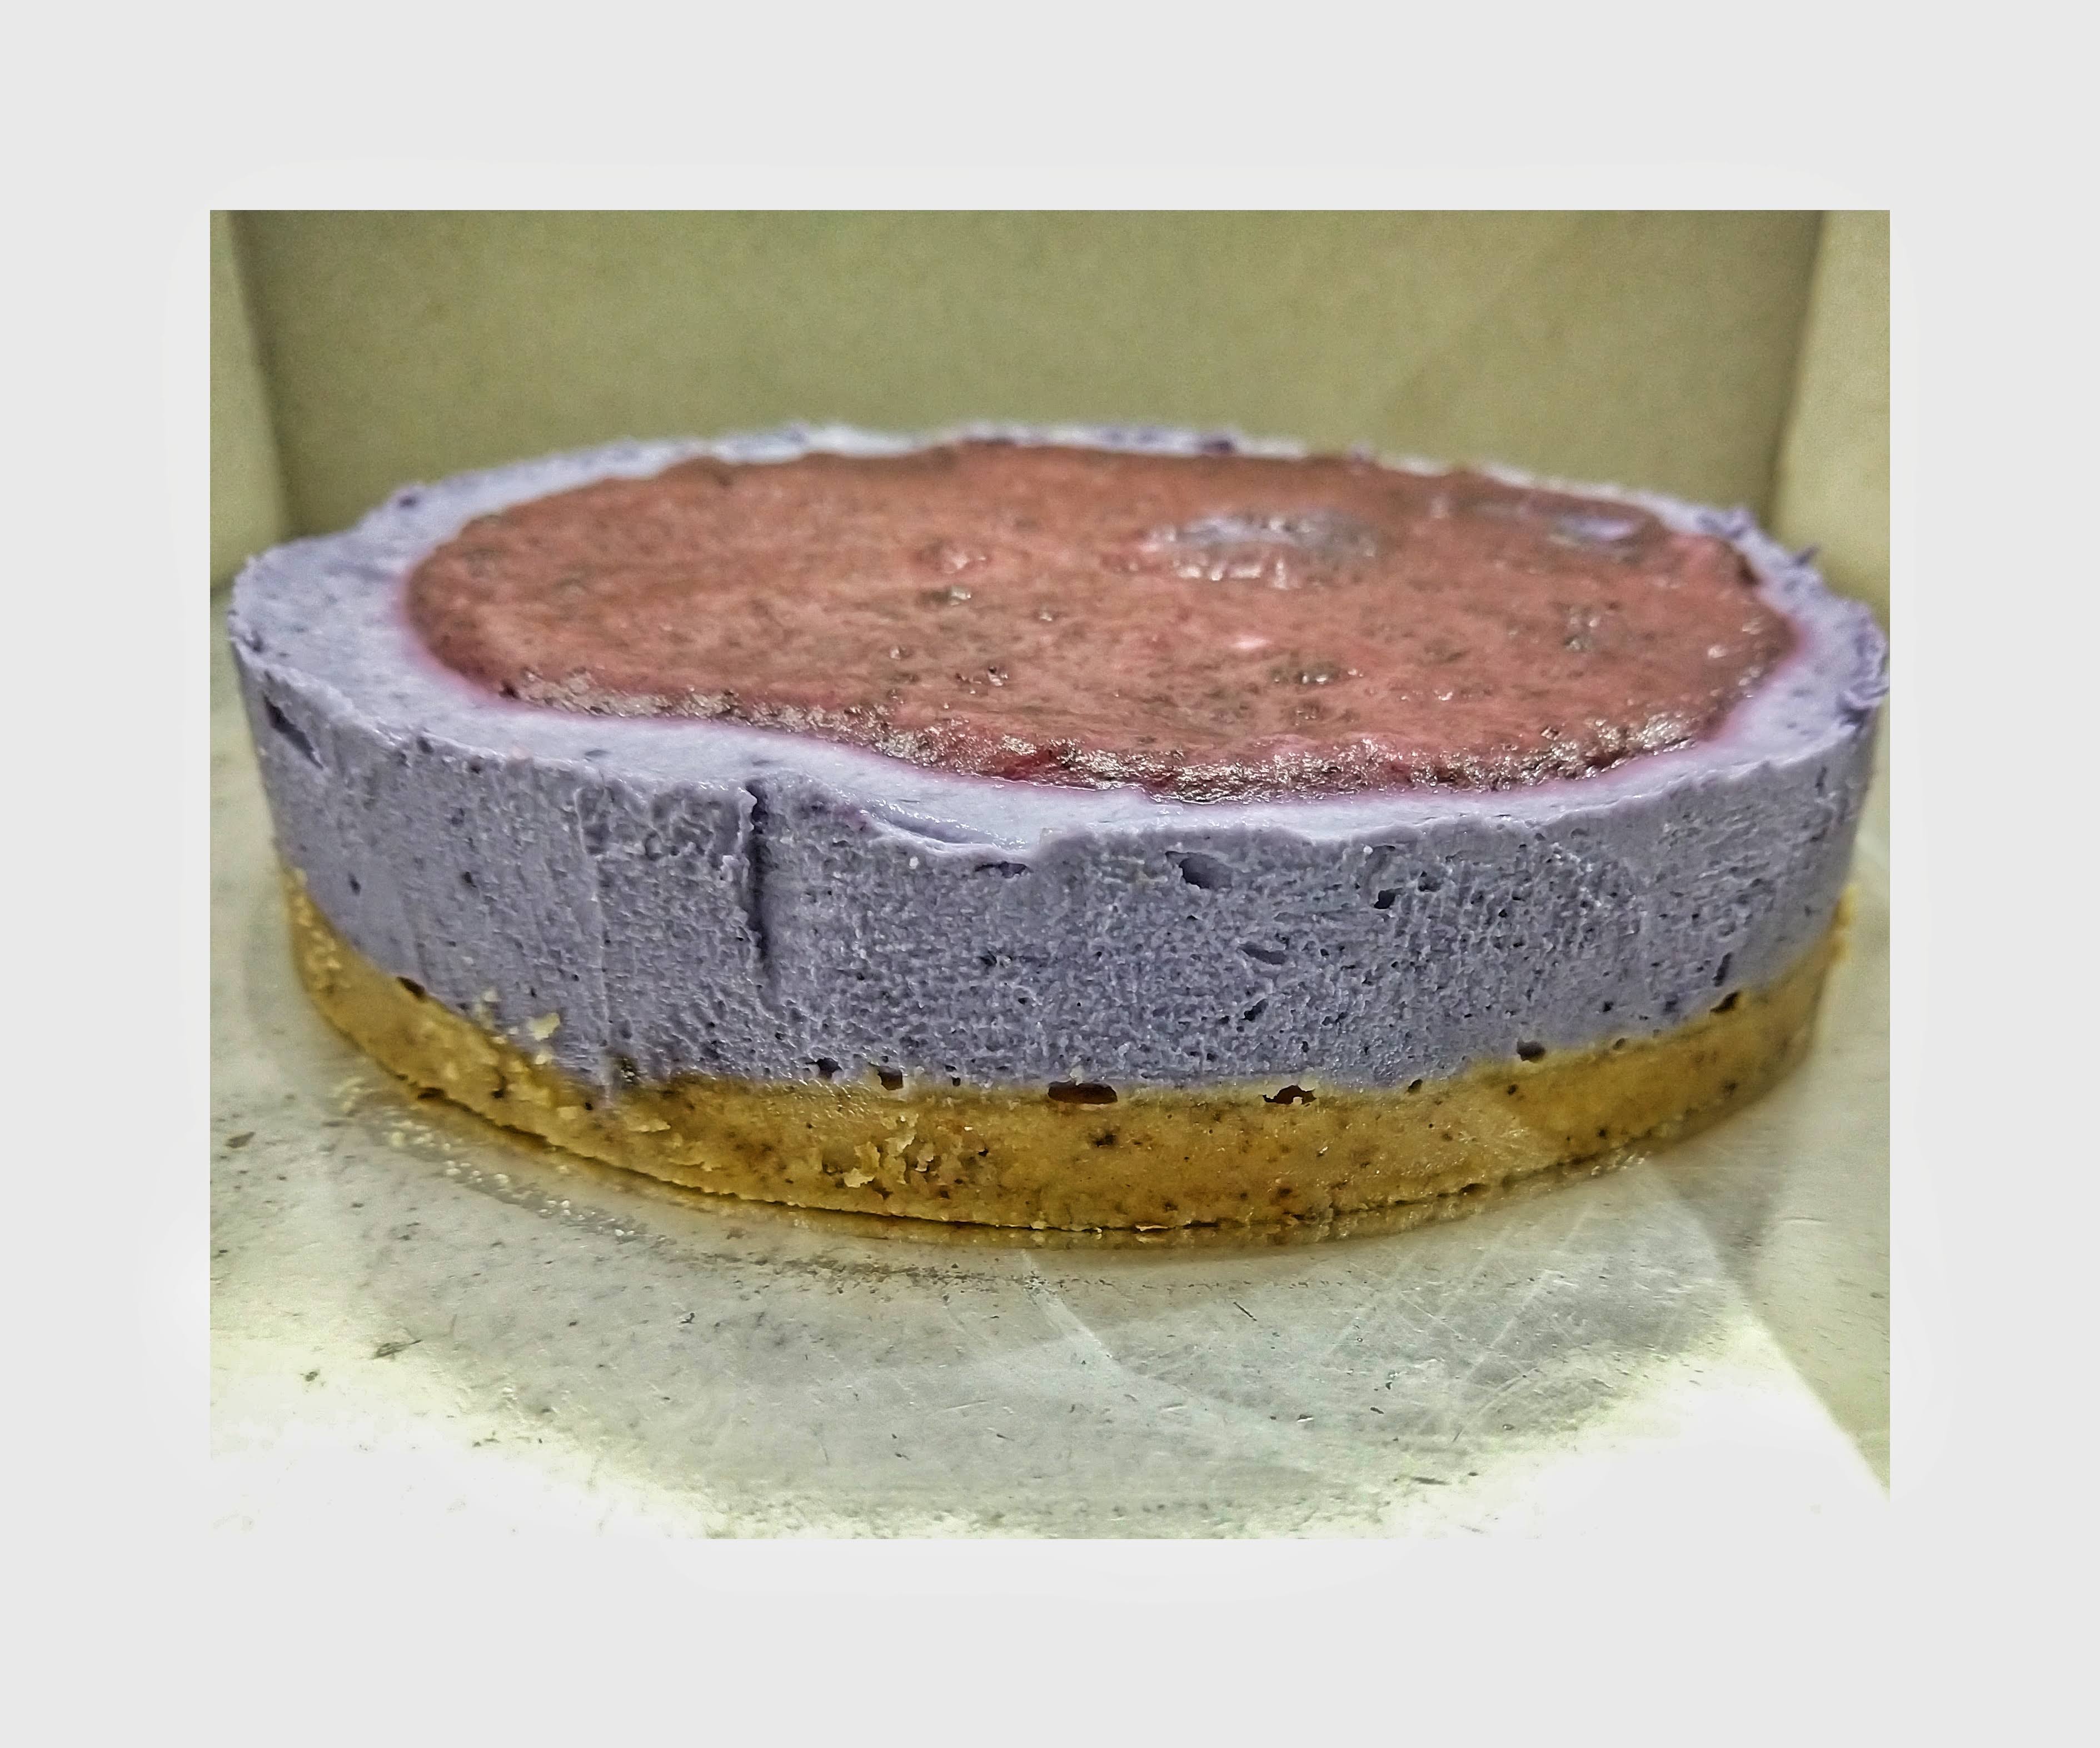
Vegan and Gluten-Free Blueberry Cheesecake
Ingredients
Base:
Dates 30g / 2 tbsp
Walnuts (roasted) 45g / 3 tbsp
Coconut oil 30g / 2 tbsp
Almond flour 45g / 3 tbsp
Salt 5g / 1 tsp
Filling:
Cashews (soaked) 200g / 2 cups
Maple syrup 56g / 3 tbsp
Coconut oil 44g / 3 tbsp
Vegan milk of your choice 100g / ½ cup
Frozen blueberries 40g / 3 tbsp
Method
- Prepare your cashews by soaking them in water overnight or for at least 4 hours.
- Roast your walnuts in a preheated oven at 160 °C for about 6 – 7 minutes.
- Add your ingredients for the base into a mixer. Blend them until coarse.
- Prepare your cake ring/ tin. Use a 6 – 7 inch cake ring lining the base with foil or use a springform cake tin.
- Spread the coarsely blended mixture for the base in your cake ring.
- Bake the base in a preheated oven at 165 °C for 10–15 minutes or until light brown and set. Remove from the oven and let it cool.
- Strain and rinse your cashews.
- Add the ingredients of your filling into a blender. Blend until smooth.
- Pour the mixture into the cake ring. Refrigerate for at least 2 hours till it sets.
- Once set, remove your cheesecake from the cake ring by using a warm knife.
- Garnish with fresh blueberries or blueberry compote.
Tips
- For the vegan milk you can use soy or almond milk.
- To release the cheesecake from the ring, the easiest way would be to use a kitchen blowtorch to warm the sides and slide off easily.
Salt Toffee Chocolate Chip Cookies

Salt Toffee
Ingredients
Brown sugar 113g / ½ cup
Unsalted butter 200g / ¾ cup + 2 tbsp
Himalayan Pink Salt 5g / 1 tsp
Method
- Before beginning this recipe, you will need a thermometer: either a food grade thermometer (easily available on Amazon) or a good quality infrared thermometer.
- Prepare a baking tray with a silicon mat.
- Add all the ingredients into a pan on low to medium heat.
- Allow the butter to melt and the sugar to dissolve and begin caramelising.
- Stir the mixture minimally, only if and when needed, using a wooden spoon or a silicon spatula.
- Allow the mixture to caramelise until the mixture reaches 150 °C and a light caramel colour.
- Immediately pour the mixture out onto the tray with the baking mat to cool down.
- Lightly sprinkle with flakey sea salt (optional).
- Once cooled down, break the toffee into smaller 1-inch pieces by hand.
Cookie Dough
Ingredients
Butter 120g / 1 cup
Brown butter 50g / a little less than ½ cup
Brown sugar 160g / ¾ cup
Caster sugar 160g / ¾ cup
Eggs 1 no.
Egg yolk 1 no.
Flour (maida) 250g / 2 cups
Baking soda 2.5g / ½ tsp.
Chocolate chips 150g / 1 cup
Salt toffee 100g / ¾ cup
Method
- Prepare your brown butter. Allow both the butters to come to room temperature.
- Sieve your dry ingredients together.
- In a bowl, beat your butter using a wooden spoon / electric hand mixer till light and fluffy.
- Add in your sugar and continue beating till light and fluffy.
- Slowly pour in your beaten eggs a little at a time while continuing to beat the mixture lightly until all the egg mixture is fully incorporated.
- Add the dry mix into the bowl and fold it in using a wooden spoon or mix with the electric hand mixer slowly.
- Sprinkle in the chocolate chips alternating with the toffee chunks in parts, until all of it has been mixed into the dough.
- Bring the dough out into an airtight container. Let it rest in the fridge for at least 30–45 minutes.
- Bring the dough out and let it rest for 5 – 10 minutes.
- Preheat your oven to 165 °C.
- Using an ice cream scooper or your hands, roll out the dough into equal sized dough balls.
- Place on a tray lined with parchment paper.
- While the oven preheats, let the dough balls rest in the freezer for 5-10 minutes.
- Bake the cookies in the preheated oven for 14-16 minutes or until the edges are golden brown.
- Take them out and let them cool on the baking tray for about 10 minutes.
- Enjoy them warm or store in an airtight container for up to 3 days.
Tips
- For the toffee, you may optionally use 2 tbsp of corn syrup added into the mixture on the pan to help stabilise the caramelisation.
- For the cookie dough, preferably use a good quality chocolate bar or Callebaut chocolate callets (54.5% or 70% dark, depending on your preference).
- Prepare and store a bigger batch of brown butter. It is always a great ingredient to have that extra flavour for various recipes!
- The method used for the cookie dough is called Creaming method which involves beating/ creaming the butter and sugar to a fluffy texture. Arriving at the perfect consistency and texture makes all the difference for cookies and cakes using the Creaming method. Over beating your mixture usually results in splitting of the butter. Under beating the mixture will look gritty and not light in colour or fluffy enough.
- While adding the eggs, be gentle. If you add the eggs too quickly, the mixture will split.
- It is best to use a weighing scale while rolling out the cookie dough to get uniform cookie dough balls. This will help with an even bake.
- The time taken to bake the cookies will depend on the size. For example, 30g cookie dough balls take about 15 minutes, 50g dough balls take 17-18 minutes.


 souk picks